Potting soil is a common word for various planting mediums. There are probably as many different potting soil mixes for sale as there are varieties of plants, each with its own unique combination of additives and growing mediums.
The word “potting soil” is a bit misleading, as it typically doesn’t have any real soil in it. Containing a mixture of peat and recycled matter, it is lighter in density and therefore provides an ideal growing medium for your plants.
If you are thinking of planting seedlings or house plants, potting soil is essential to a container garden of your dreams. The only drawback? It can be costly.
That begs the question, is it okay to reuse potting soil? It looks perfectly fine, so why let it go to waste? We’ve got your answers in The Frugal Gardener’s Guide to Reusing Potting Soil.
Let’s get started.
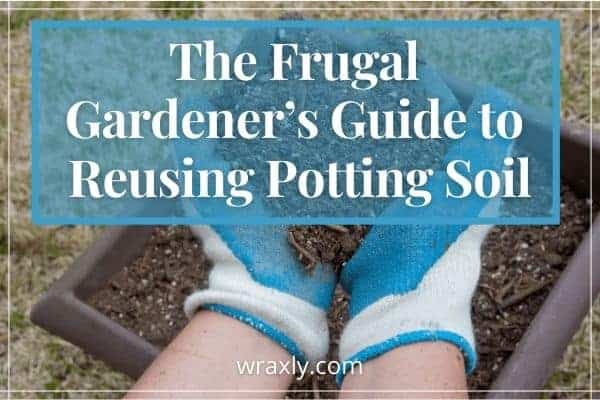
Table of contents
- Benefits of potting soil
- Can you reuse potting soil?
- How to Reuse Potting Soil
- How to sterilize old potting soil – pasteurizing isn’t just for milk
- 3 best ways to sterilize small batches of potting soil
- Rejuvenating used potting soil
- FAQs about reusing potting soil
- Final thoughts on sterilizing potting soil
Benefits of potting soil
Before we dig into whether it’s good to reuse potting soil, let’s first take a quick look at the benefits of potting soil:
- Potting mixtures usually contain components that hang on to nutrients and water and facilitate proper soil aeration.
- Reduced risk of disease. Some potting soil is composed of a “sterile mix.” The soil has been pasteurized to remove pests and diseases. Sterile potting soil is perfect for beginning seeds, as seeds are incredibly likely to be susceptible to disease.
- Convenience. Open a bag and add the potting mix to your container. Can it get any easier than that?
- Weight. Regular garden soil is darker in color and heavier in weight. This isn’t a problem when growing your plants in the ground. Potting mixes contain lighter ingredients such as peat, vermiculite, or coir, which makes your containers lighter and easier to move around.
- Retain moisture. Plants need water, right? The ingredients of potting soil, such as peat moss or coconut coir, helps retain water longer. A plant growing in the ground can extend its roots downward in search of water. A plant growing in a container can’t do that.
- Resists compaction. Have you ever had to use a pick axe to dig into an old, neglected garden? That’s because the soil has become compacted over time. Your plants won’t thrive in this dense soil because the roots can’t breath and water won’t drain freely. Potting soil contains organic material and other ingredients that prevents the soil from compacting and allows the soil to drain well.
Can you reuse potting soil?
It is completely acceptable to reuse potting soil, with a few caveats. Healthy soil equals healthy plants, and the vitality of your potting soil impacts how well your plants grow.
Generally speaking, you can reuse old potting soil as long as whatever you were previously growing was healthy. However, if the plant showed signs of disease, or had a pest infestation, it is best to start with new potting soil to prevent poisoning next year’s crops. Microorganisms, bacteria, and viruses can remain in the potting solution long after the plants have faded away. It may be possible to sterilize the soil to kill off these pathogens, however the risk may not be worth it.
If your plants were healthy and happy, it should be fine to reuse the potting soil.
How to Reuse Potting Soil
There are only a couple of steps to take before your old potting soil is ready to be reused: Sterilize and rejuvenate.
How to sterilize old potting soil – pasteurizing isn’t just for milk
Before you reuse your old potting mix, you must kill off any bacteria, bugs, and seeds in the potting soil through a sterilization/pasteurization process.
Target temperatures for killing specific organisms in potting soil

3 best ways to sterilize small batches of potting soil
Sterilize potting soil in an oven
- Preheat the oven to 200 degrees Fahrenheit
- Spread a layer of soil no deeper than 4 inches into an aluminum tray
- Remove any plant debris such as roots and leaves. Pick out any rocks and break up clods of dirt
- Mix water into the soil so it is moist but not soaked. This is important because this moisture will become steam in the oven, which is what will sterilize your potting soil
- Cover the aluminum tray with foil.
- Use an instant-read thermometer or a meat thermometer to check the temperature. Once it reaches 180 degrees Fahrenheit, set a timer for 30 minutes
- Remove the pan from the oven and let the soil cool to room temperature
Sterilize potting soil with boiling water
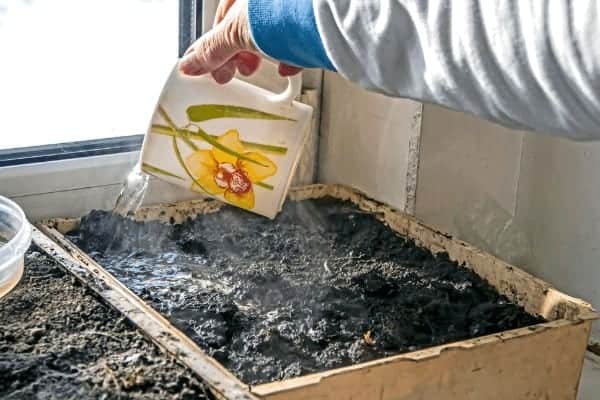
Using boiling water to sterilize potting soil is best for small quantities of potting mix, unless you have access to a large stock pot with which to boil your water, or several smaller size pots.
- Put your used potting mix into a 5-gallon bucket or other heat resistant container. Leave an inch or two of headspace in the container for the soil to expand.
- Boil your water.
- Carefully poor the boiling water into your bucket or storage container until the soil is submerged. If you have a lid, place it on the container. This will help trap the heat for a longer period of time.
- After 30 minutes it is okay to open the container. Dump the soil out onto a tarp or another container and let dry.
Sterilize potting soil through solarization
Solarization is the easiest method of sterilization/ pasteurization, although it is both time- and temperature-dependent. It is most effective in warm, sunny locations when days are long, air temperatures are high, and skies are clear. The goal is to maintain daily maximum temperatures at or above 110 degrees to 125 degrees F.
Soil can be solarized by storing your used potting soil in resealable five-gallon buckets or black plastic trash bags that are sealed and left in the sunlight for four to six weeks. Monitor the soil temperature. As a guide, to completely kill pests, maintain 158 degrees F or higher for 30 minutes, or 140 degrees F or higher for 1 hour.
Using hydrogen peroxide to sterilize potting soil – fact or fiction?
I was originally going to include hydrogen peroxide as an option to sterilize potting soil, but I couldn’t find any scholarly source material to support the few blog posts I found that mentioned this technique. I had my doubts when I noted the blog authors wouldn’t commit to specifying what ratio to use. Even on the hydrogen peroxide manufacturers sites, where they promoted the use of hydrogen peroxide in all sorts of gardening related benefits, not one mentioned using hydrogen peroxide to sterilize soil.
There are benefits, certainly, to using hydrogen peroxide to sterilize your potting containers and tools (we write about it ourselves in The Best Way to Clean Fabric Grow Bags), but we can’t recommend its use for sterilizing used potting soil. I will update this post if we learn otherwise.
Update: I reached out to the Department of Soil and Crop Sciences at Colorado State University and had a very nice email discussion with Jim Ippolito, PhD, Associate Professor, Soil Fertility and Environmental Soil Quality regarding the best ways to sterilize potting soil. He stated that the key was to make sure that the soil temperature is raised to at least 180 degrees F. He thought the easiest way to do this is either in the oven or through the use of boiling water.
We also discussed the use of hydrogen peroxide. Here are his comments:
I would steer clear of hydrogen peroxide. I don’t even know what concentration is suggested to use, but you’ve likely seen what it does to sterilize cuts, right? It fizzes or effervesces, and that’s the weak solution you can buy over the counter. The hydrogen peroxide we use in our lab is 30%. If you got that on your skin it would be extremely painful. I know……I’ve accidently done it. If you add this concentrated liquid hydrogen peroxide to the soil, oh yeah, it oxidizes anything organic, in a potentially violent fashion (i.e., it could be on the order of explosive). I would steer clear of using any chemicals like hydrogen peroxide if you can, and keep it simple. Placing your soils in an oven is pretty safe and equally as effective without having to deal with chemicals.
Jim Ippolito, PhD (personal communication, January 25, 2021)
What about sterilizing soil in the microwave?
Many other soil sterilization blog posts include the option of using a microwave. Because the key to proper soil sterilization is maintaining an internal temperature of 180 degrees F. for 30 minutes, it would be difficult to maintain the desired temperature for the required amount of time through the use of a microwave. This is why we don’t include this option in our 3 recommended ways to sterilize potting soil. To assure your soil is adequately sterilize, choice from the 3 options above.
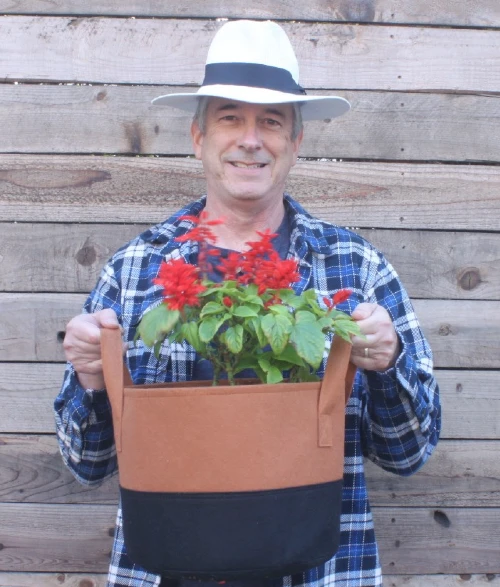
Rejuvenating used potting soil
When you plant using your sterilized potting soil, make sure to always add fertilizer specific to the needs of your plant. Fertilizer should also be added periodically throughout the growing season. This will guarantee that the plant receives adequate nutrients throughout the year. You can also add missing nutrients to your soil by including manure, leaf mold, or compost. A slow release fertilizer is also a good choice. Use according to the instructions, and be careful not to fertilize your new plants too much.
Many growers skip sterilizing their used potting soil and merely blend old potting soil with fresh material, with a few bags of organic fertilizer included to improve soil nutrients. Mixing old soil with new soil in equal portions is a healthy way to maintain sustainable volume and nutrient balance.
FAQs about reusing potting soil
It isn’t recommended to reuse potting soil that was used for tomatoes, or to plant tomatoes in used potting soil. Tomatoes drain out the most nutrients from soil, so it is better to start with fresh potting soil.
If you start from seeds or cultivate seedlings, always use a new bag of potting mix. Healthy pH is essential for young plants, so it is best to start with fresh potting soil.
The life span of potting soil depends on whether it is in use or not. Unused potting soil will survive about six months until it deteriorates, while used potting soil should be rejuvenated or replaced annually.
Regular garden soil is darker in color and heavier in weight. Potting mixes contain lighter ingredients such as peat, vermiculite, or coir, which makes your containers lighter and easier to move around. You should always use potting mix with indoor plants.
Potting soil is often blended with garden soil in specific situations, like raised beds. However, potting soil should never be mixed when used with plants in containers.
If your plants seem not to grow, or the soil is compacted, it is best to replace the potting mixture. Fresh potting mix should be smooth and soft.
Final thoughts on sterilizing potting soil
If you go to the trouble of sterilizing and rejuvenating used potting soil, don’t forget to sterilize your containers. Pathogens can easily survive on last year’s planting container and contaminate next season’s plants. Soak them in a solution of 1/4 cup hydrogen peroxide to 1 quart of water for 20 minutes, then rinse thoroughly.
Rest assured that it is perfectly fine to reuse potting soil. It is cost-effective and good for the environment. Follow the suggestions above and you shouldn’t have any problems. Happy savings!
References
- Heat treatment of soil for plant propagation
- The U.C. System for Producing Healthy Container Grown Plants
- Soil Solarization for Gardens and Landscapes
Darrell has a passion for gardening that he inherited from his father. Go here to read more about the influence his father played in his love for gardening. If you want to send Darrell a quick message, then visit his contact page here.

![10 Common Container Garden Mistakes to Avoid [Beginner’s Guide]](https://wraxly.com/wp-content/uploads/2021/02/10-Common-Container-Garden-Mistakes-to-Avoid-Beginners-Guide-1200-1024x576.webp)